I’m going to start this post of by saying that I need testers. People to test this process from an interface perspective as well as a data perspective. I’m limited on the amount of test data that I have to put through the process.
With that said, I spent my Thanksgiving Holiday writing code, building this project and putting in way more time that I thought I would but boy is it cool.
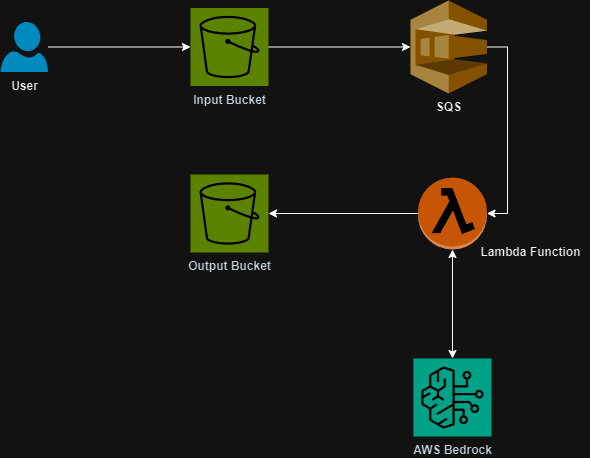
If you’re like me and working in a Cloud Engineering capacity then you probably have built a DrawIO diagram at some point in your life to describe or define your AWS architecture. Then you have spent countless hours using that diagram to write your Terraform. I’ve built something that will save you those hours and get you started on your cloud journey.
Enter https://drawiototerraform.com. My new tool that allows you to convert your DrawIO AWS Architecture diagrams to Terraform just by uploading them. The process uses a combination of Python and LLM’s to identify the components in your diagram and their relationships, write the base Terraform, analyze the initial Terraform for syntax errors and ultimately test the Terraform by generating a Terraform plan.
All this is then delivered to you as a ZIP file for you to review, modify and ultimately deploy to your environment. By no means is it perfect yet and that is why I am looking for people to test the platform.
If you, or someone you know, is interested in helping me test have them reach out to me on through the website’s support page and I will get them some free credits so that they can test out the platform with their own diagrams.
If you are interested in learning more about the project in any capacity do not hesitate to reach out to me at anytime.
Website: https://drawiototerraform.com