
Recently Amazon Web Services announced its new service called AWS Backup. The goal is to create a simple, automated backup solution for resources within the AWS Cloud.
There have been plenty of other solutions out there for backups but most are quite costly. Here is a look at the pricing for the AWS Backup solution:
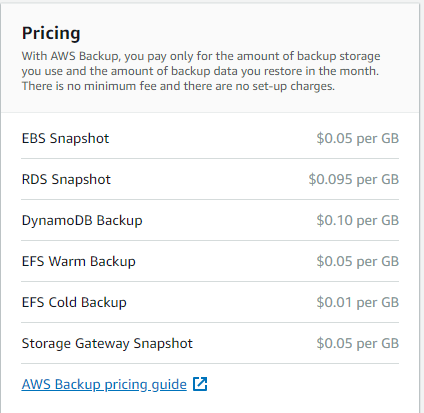
The pricing for an EBS Snapshot is the same as the pricing for manual snapshots so it is quite a compelling argument to set this up.
Let’s look at a quick example of how to setup a simple recurring EBS Snapshot. In this example I have a Linux EC2 instance with a single EBS volume attached to it.
Login in to your AWS console and search for “Backup” in the services menu. You will see AWS Backup.

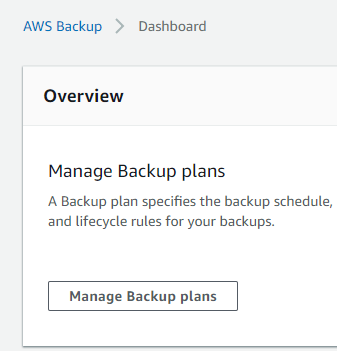
Once you are in the console for AWS Backup, choose “Manage Backup Plans”
To get the full experience of AWS Backups I chose to make my own plan. You could also choose to use one of their existing plans.
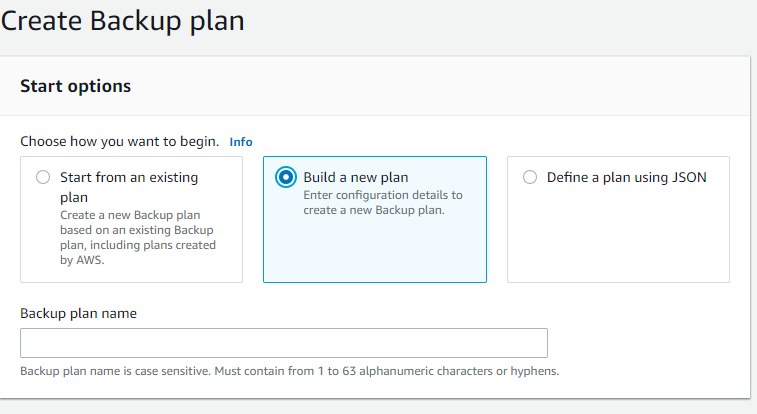
Give your backup plan a name. Something so you can remember what the plan is going to be doing. For my example I named my plan “7Day-Snapshot”. My plan will take a snapshot of the EBS volume and store it for 7 days before discarding it.
Inside of your plan you are going to create a rule. In the example we only need one rule.
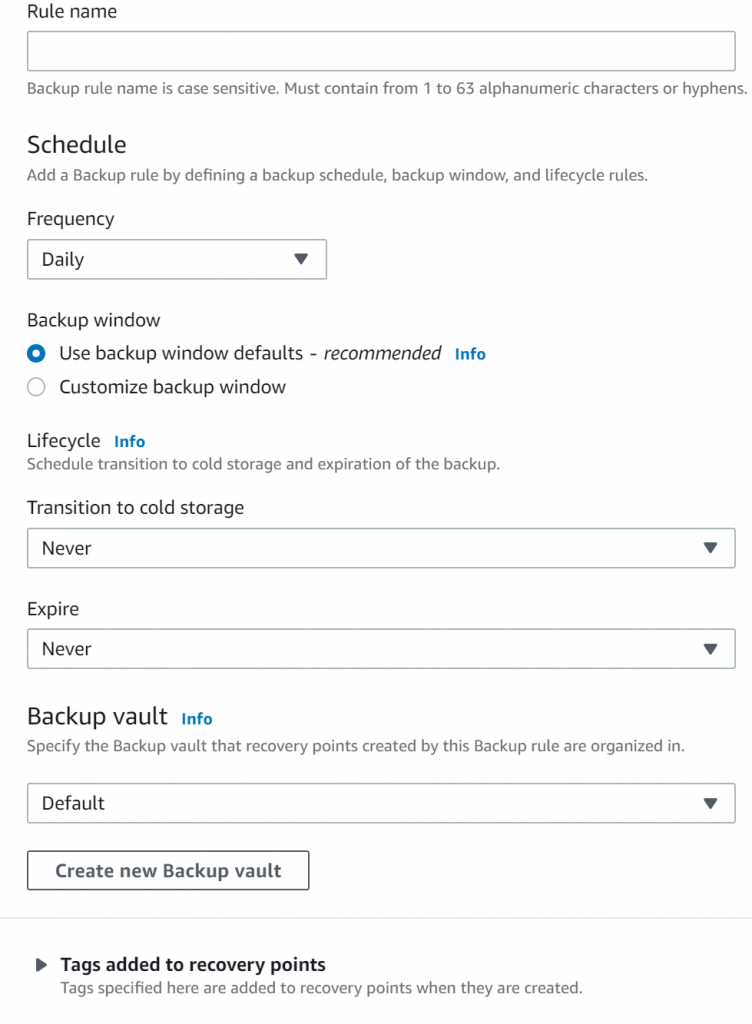
I filled the fields out as follows:
Rule Name: 7DayRetention
Frequency: Daily
Backup Window: Use Backup Window Defaults
Transition to Cold Storage: Never
Expire: 7 Days
Backup Vault: Default – You can create different vaults with various options. I would suggest this if you are wanting to separate your projects or customers.
Tags: You can add various tags but I didn’t set any up for this example.
Once you have all the options filled out hit “Create Plan” to save your new plan. You can now assign resources to your plan which is how you actually choose what is going to be backed up!
In Resource Assignments click “Assign resources”

You will need to define a few things in the next step which is choosing your resources.
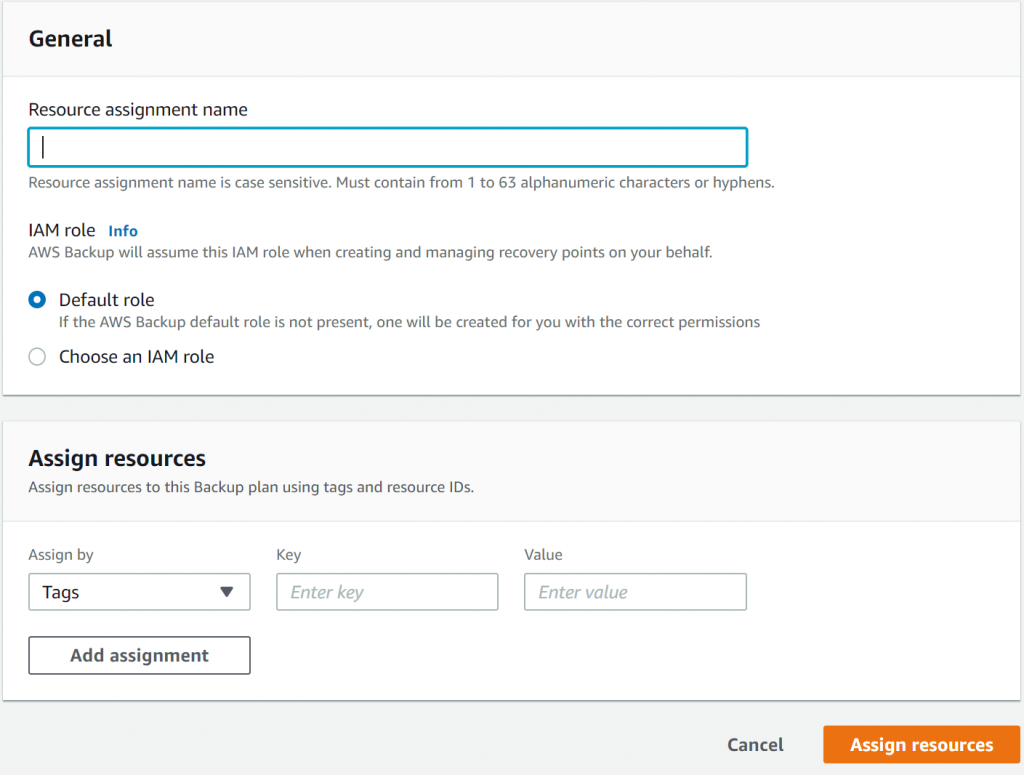
Resource assignment name: I used the hostname of my Linux Server
IAM Role: I used default
Assign Resources: This is where you can get creative. One thing I am going to setup going forward is that every EBS volume with Key: Backup and Tag: Yes will fit this resource. Then I don’t have to add each volume individually. Feel free to explore. What I did was to choose “Assign By” Resource ID. Then Resource Type of EBS Volume and then found my resource in the list.
Hit Assign Resources when you are done.
That’s it! You now have a backup plan that will take a snapshot of your EBS volume during each maintenance window every day. It will then store them for one week and then delete them.
This service by AWS should solve a myriad of problems for many organizations.
If you have questions feel free to reach out!
Leave a Reply