Last year I attempted to program a Fantasy Football draft assistant which took live data from ESPN’s Fantasy Platform. Boy was that a mistake…
First of all, shame on ESPN for not having an API for their Fantasy sports applications. The reverse engineered methods were not fast enough nor were they reliable. So, this year I took a new approach to building out a system for getting draft pick recommendations for my team.
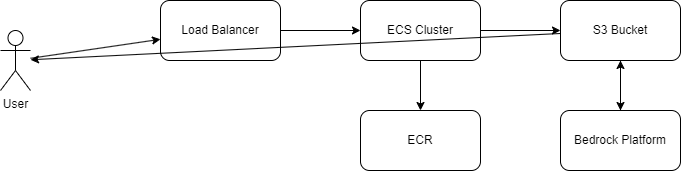
I also wanted to put to use the example architecture and code I wrote the other day for the Strands SDK to work so I utilized it to build an API which would utilize the AWS Bedrock platform to analyze data and and ultimately return the best possible picks.
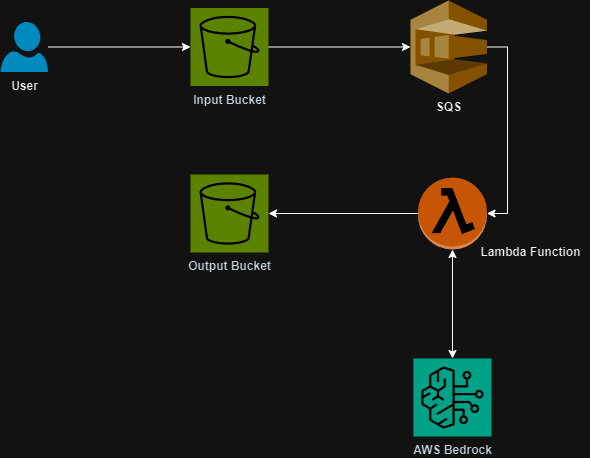
Here is a simple workflow of how the tool works:
The first problem I encountered was getting data. I needed two things:
1. Historical data for players
2. Projected fantasy data for the upcoming season
The historical data provides information about the players past season and the projections are for the upcoming season, obviously. The projections are useful because of any incoming rookies.
In the repository I link below I put a scripts to scrape FantasyPros for both the historical and projected data. It stores them in separate files in case you want to utilize them in a different way. There is also a script to combine them into one data source and ultimately load them into a DynamoDB table.
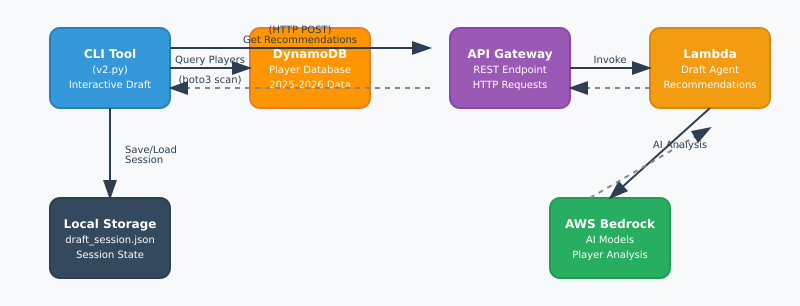
The most important piece of the puzzle was actually simulating the draft. I needed to create a program that would be able to track the other team’s draft picks as well as give me the suggestions and track my teams picks. This is the heart of the repository and I will be using it to get suggestions and track the draft for this coming season.
Through the application, when you issue the “next” command the application will send a request to the API with the current situation of the draft. The payload looks like this:
payload = {
            "team_needs": team_needs,
            "your_roster": your_roster,
            "already_drafted": all_drafted_players,
            "scoring_format": self.session.scoring_format if self.session else "ppr",
            "league_size": self.session.league_size if self.session else 12
        }
The “team_needs” key represents the current number of players remaining for each position. The “your_roster” position is all of the current players on my team. The other important key is “already_drafted”. This key sends all of the drafted players to the AI agent so it knows who NOT to recommend.
The application goes through all of the picks and you are able to manually enter each of the other teams picks until the draft is complete.
I’ll post an update after my draft on August 24th with the team I end up with! I still will probably lose in my league but this was fun to build. I hope to add in some sort of week-to-week management of my team as well as a trade analysis tool in the future. It would also be cool to add in some sort of analysis that could send updates to my Slack or Discord.
If you have other ideas message me on any platform you can find me on!
GitHub: https://github.com/avansledright/fantasy-football-agent